

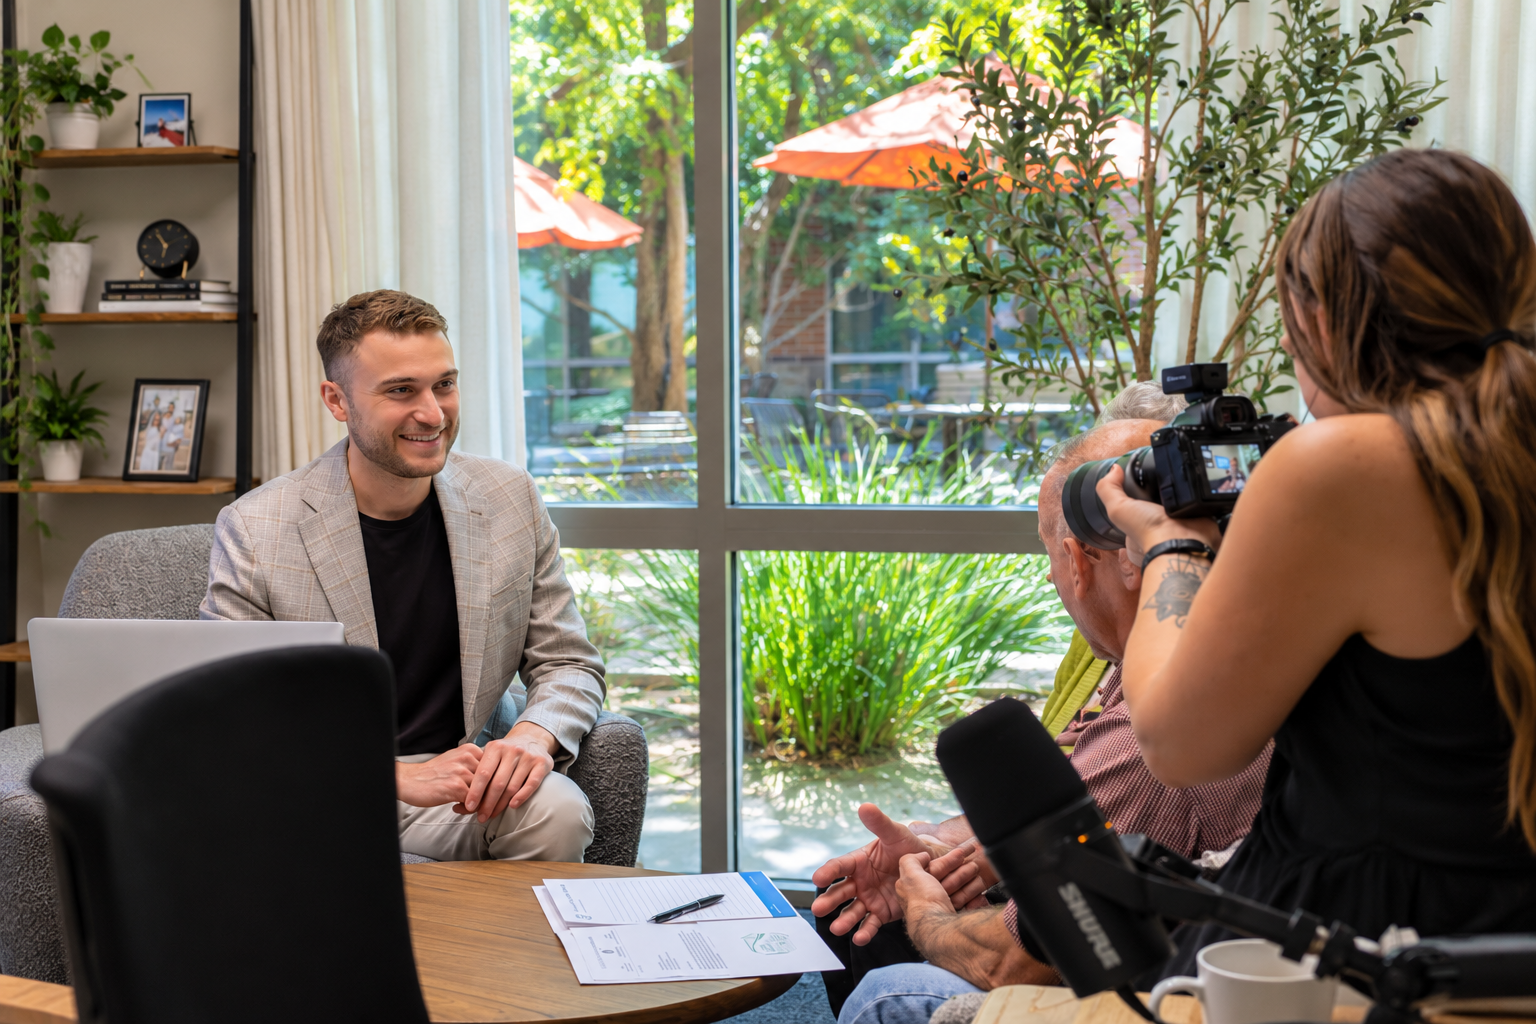
Few firms can get the whole team and several clients into the office on the same afternoon. This shot list breaks a brand photo shoot into short sessions you can book around real calendars: one for headshots, one for the team, one for the building, and a series of short sessions with real clients as they become available.
We send this list to our financial advisor, CPA, attorney, and professional services clients before every brand shoot. Photos of your team working with actual clients show prospects the kind of relationship they can expect with your firm. Throughout this list, “advisor” means whoever leads the client relationship, whether that is a financial advisor, CPA, attorney, or consultant.
| Session | Who needs to be there | Time to book | What you get |
|---|---|---|---|
| 1. Headshots | Each team member, one at a time | 10 to 15 minutes per person | Bio photos, LinkedIn, email signatures, speaker bios |
| 2. Team and office | The full team | 2 to 3 hours | Team portraits, behind-the-scenes action, team hero images |
| 3. Building and office space | The photographer and one staff member | 1 to 2 hours | Exterior, entrance, styled interiors, detail shots |
| 4. Client sessions (repeat) | One client or couple, plus their advisor | 60 to 90 minutes per client | Meetings, listening, celebration, and hero shots with real clients |
| 5. Client lifestyle (optional) | One client household | 1 to 2 hours on location | Candid photos at home or doing what they enjoy |
Sessions 1 through 3 can share a single day if your team’s calendar allows it. Client sessions usually spread across 2 to 4 days over a few weeks, depending on when clients can come in.
Before you book
Start planning 4 to 6 weeks out. Client sessions take the longest to line up, so begin recruiting clients while you finalize the photographer.
- Decide who will take the photos and send them this list. If you hire an outside photographer, ask whether they bill hourly or by half day, and whether they can return for several client sessions at the same rate. If you have an in-house media person, they can cover this whole list, and client sessions get much easier to schedule because they are already in the office.
- Settle compliance before you invite anyone. Each profession has its own rules. Financial advisors registered with the SEC or FINRA should confirm with compliance how client photos can be captioned, since a client quote or story can count as a testimonial that requires disclosures. CPAs who prepare tax returns need a separate signed consent under IRS Section 7216 before identifying a tax client in marketing. Attorneys should check their state bar’s advertising rules, since the fact that someone is a client is usually confidential and some states require extra labeling on ads.
- Prepare a client photo release. The release should state where the photos may appear (website, social media, print, ads), how long you can use them, and whether the client will be named. Have it reviewed by your compliance team or attorney once, then reuse it for every client.
- Plan wardrobe for everyone. Team members and clients should bring 2 or 3 outfits in solid colors. Changing outfits between setups makes the photos look like they were taken on different days, so you can post them across months without your feed looking repetitive. Busy patterns tend to photograph poorly.
- Protect client data on camera. Every screen, tablet, report, and file visible in a shot should show sample data or a blank template, including during client sessions. A real account number in a photo is a privacy problem you cannot take back once it is posted. If a shot you love does show real client data, ask your photo editor to blur or replace it before the final image is delivered.
Recruiting and scheduling clients
Plan on 3 to 5 clients. That gives you enough variety for your website and social media, plus a backup if someone cancels.
Who to ask
- Long-term clients who know you well and are comfortable on camera.
- Clients who look like the people you want more of. If you specialize in healthcare workers, business owners, retirees, or families planning their estates, make sure that group is well represented.
- A mix of couples and singles, with some range in age and life stage.
How to ask
The invitation should come from the advisor or partner who works with that client, by phone or in person. Tell them it takes about an hour, where the photos will appear, and that they will see and approve their photos before anything is published. Offering them a few professional portraits of their own from the session gives them a good reason to say yes. If you plan to give any other thank-you gift, run it by compliance first.
How to schedule
- Ask each client for 2 or 3 windows that work for them, then build the photographer’s calendar around those.
- Stack 2 or 3 client sessions back to back on the same day when you can. An outside photographer booked for a half day costs less than three separate visits. An in-house photographer can simply shoot whenever a client is available.
- Leave 15 minutes between clients as a buffer in case a session runs long.
- Book client sessions on days when the advisor and the client service lead are both in the office, since several shots need them together.
- Send each client a short prep email 3 to 5 days ahead covering the time, parking, what to wear, and what to expect.
Session 1: Headshots
Who: each team member, one at a time. Time: 10 to 15 minutes per person.
Set up one neutral backdrop, or choose a spot in the office with a clean, softly blurred background like a bookshelf, window, or branded wall, and use it for the whole session. Team members can step away from their desks for their slot and get right back to work, so this session is easy to fit into a normal business day.
- Formal headshot of every team member against the same background
- A vertical crop for bio pages and a horizontal crop for LinkedIn and speaker materials
- One serious expression and one natural smile per person
Tips: frame each person from the chest up with a little room above the head so the image can be cropped later. Also shoot the same setup with the person off to one side and facing inward, with about 50% of the frame empty or softly blurred so you can place text or graphics there later.
Session 2: Team and office
Who: the full team. Time: 2 to 3 hours.
This is the one session that needs everyone in the office at once, so pick the date first and protect it on every calendar. Shoot the group portraits early while everyone is fresh, then let people return to work as their individual shots wrap up.
Team portraits
- Full team group shot, one formal version and one relaxed version
- Partners or firm leaders together, side by side, natural and approachable
- Client service lead at their desk with a phone or computer, warm and professional
- Support or specialist staff (paraplanner, paralegal, staff accountant, analyst, or marketer) with a laptop or notepad, reading, writing, or brainstorming
- Department or service team shots, if your firm has more than 6 people
Behind-the-scenes action
- Client service lead on the phone, smiling
- Support staff typing, taking notes, or brainstorming at a whiteboard
- Support staff in conversation with the partners
- Partners meeting around the conference table
- Close-up of hands on reports, tax documents, or contracts, or pointing at a screen
Team hero images
Hero images sit behind headlines on your homepage, landing pages, ads, and slide covers. They need plenty of open space, which photographers call negative space, so text can sit on top. Aim for 50% to 60% of the frame to be empty or softly blurred.
- The team standing confidently in the office, with clean space on one side for a tagline
- A team member working at a desk with a large empty wall behind them
- Partners at the conference table, shot wide with a blurred background
Session 3: Building and office space
Who: the photographer and one staff member to unlock doors and move furniture. Time: 1 to 2 hours.
Schedule this session before the office opens, after it closes, or on a weekend, when the space is empty and no client files are out. Exterior shots look best in the softer light of early morning or late afternoon.
Before the photographer arrives: clear desks of clutter, sticky notes, and paperwork, straighten the conference room, open the blinds, and turn on every light.
- Front of the building, straight on and from an angle
- Main entrance and signage
- Lobby or reception area
- Conference room, styled, both empty and occupied
- Private offices, styled, both empty and occupied
- Hallways in natural light
- Wide interior shots with 50% to 60% open space for headlines
- Detail shots: your logo on the wall, a coffee station, framed credentials, or anything else distinctive to your space
File tip: ask for full-resolution files and a few vertical crops of each wide shot. Website banners usually need images at least 2,000 pixels across, and vertical versions keep your homepage looking right on phones.
Session 4: Client sessions (repeat for each client)
Who: one client or couple, their advisor, and the client service lead for the opening shots. Time: 60 to 90 minutes per client.
These are the most valuable photos in your library, and they depend on a client’s limited time. Follow the same run sheet for every client so the session moves quickly and nothing important gets missed.
| Minutes | Setup | Shots to capture |
|---|---|---|
| 0 to 10 | Welcome | Client service lead greeting the client at reception. Use this time to offer coffee, review the release, and let the client relax. |
| 10 to 30 | Meeting at the desk or table | Advisor walking the client through a plan, a return, or a contract on paper or a tablet. Advisor listening with an attentive expression. Documents or a tablet open on the table. |
| 30 to 40 | Conference room | Advisor and client around the conference table, with a second team member joining if available. |
| 40 to 50 | Hero shots | Advisor and client shot wide with a blurred background and 50% to 60% open space. A relaxed coffee-meeting conversation. |
| 50 to 60 | Movement | Walking down the hallway in natural light. Walking outside the building together. |
| 60 to 70 | Celebration | Handshake, signing papers, and a shared smile at the end of the meeting. |
| 70 to 80 | Client portrait | A few portraits of the client or couple on their own, which you give them as a thank-you. |
Tips for client sessions
- Pair each client with the advisor they actually work with. Their real rapport shows in the photos.
- Give them something easy to talk about, like an upcoming trip, their family, or a hobby. A real conversation looks far more natural than posed smiles, and it keeps confidential topics out of the room.
- Spread the shot list across clients. If the first client covers the meeting and handshake shots well, focus the next session on movement and hero shots.
- Have the photographer flag their favorite frames at the end so you can share a preview with the client before they leave.
Session 5 (optional): Client lifestyle
Who: one client household and the photographer, with the advisor joining if the client is comfortable with it. Time: 1 to 2 hours on location.
Lifestyle photos show the life your clients are planning for, and they work especially well on retirement, estate planning, family, and business-owner pages. Choose a client who enjoys the idea and has a setting that reflects your audience, such as a home, a garden, a workshop, or their own business.
- Candid moments at home with a spouse, kids, or grandkids
- The client doing a hobby or activity they enjoy
- The client at their own business or workplace, if that fits your audience
- The advisor visiting the client at home, if they join
The same release and compliance review apply here, and the client should approve every photo taken in their home before it is published.
After the sessions
- Send clients their proofs. Share each client’s photos within 1 to 2 weeks, and let them flag any image they would rather keep private. Include their thank-you portraits in the same email.
- Get sign-off on captions and placement. Have your compliance team, ethics counsel, or managing partner review where each client photo will appear and how it will be described before anything goes live.
- Organize the library by use. Sort final images into folders for headshots, team, office, clients, and hero images, and note any client who has asked to be removed from future use.
- Track release dates. Keep each client’s signed release with their photos, along with any expiration date, so your team knows when an image needs to come down.
Frequently asked questions
How long does the whole shoot take?
Sessions 1 through 3 fit into one full day or two half days. Client sessions usually take another 2 to 4 days spread over 2 to 6 weeks, depending on how quickly clients can commit to a time.
What if a client cancels?
Keep one backup client who has already agreed and signed a release. Before you book, ask the photographer about their rescheduling policy so a cancellation costs you as little as possible.
Can a client appear without being named?
Yes. Your release should say whether the client will be named, and many clients are more comfortable appearing in photos without a caption that identifies them.
How many final photos should we expect?
A photographer will take hundreds of frames in each session, then deliver a smaller set of edited, ready-to-use images. Here is what a firm with 5 team members and 3 to 5 participating clients can reasonably plan on.
| Session | Estimated edited photos |
|---|---|
| 1. Headshots | 2 to 3 per person (10 to 15 for a team of 5) |
| 2. Team and office | 30 to 50 |
| 3. Building and office space | 15 to 25 |
| 4. Client sessions | 15 to 25 per client (45 to 125 for 3 to 5 clients) |
| 5. Client lifestyle (optional) | 15 to 30 |
| Total | About 100 to 250 |
Even at the low end, that covers a full website refresh and a new social post about once a week for a year. Delivery counts vary by photographer, so confirm how many edited images are included before you book.
How often should we reshoot?
Plan on a refresh every 2 to 3 years, or sooner when you add team members, move offices, or rebrand. Headshots for new hires can be added at any time using your saved setup notes.
Can we still use stock photos?
Stock images work fine for abstract topics like market charts, tax season, or legal concepts. Any image meant to represent your team, your office, or your clients should come from your own shoot.
Need help putting your photos to work?
Advantagy helps financial advisors, CPA firms, law firms, and other professional services firms plan brand shoots and turn the results into websites, landing pages, and campaigns that bring in new clients. Schedule a free consultation to talk through your next shoot.


